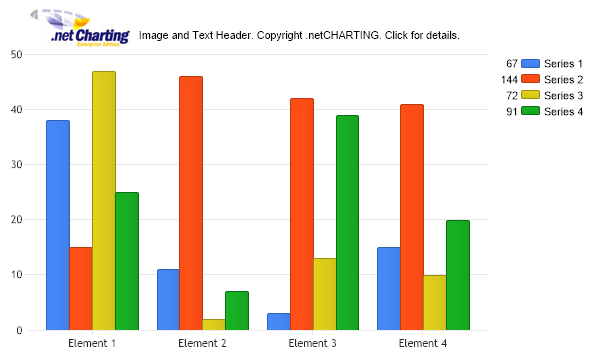
// Demonstrates how to use annotations to create a custom company header on your charts.
// First we get our data, if you would like to get the data from a database you need to use // the data engine. See sample: features/dataEngine.aspx. Or the dataEngine tutorial in the help file. SeriesCollection mySC = getRandomData();
// Our company logo is 40 pixels high so we'll start by making some space at the top of the chart. Chart.MarginTop = 40;
// Next we place the logo on the chart using an annotation. Annotation a = new Annotation(new Background("../../images/dncLogo.jpg")); a.Shadow.Color = Color.Empty; a.Position = new Point(27,0); Chart.Annotations.Add(a);
// Now we'll make an annotation for the text part. Annotation a2 = new Annotation("Image and Text Header. Copyright .netCHARTING. Click for details.");
// We'll add a link so then this text is clicked it takes us to the site. a2.URL = "http://www.dotnetcharting.com";
// The logo size is 103x40. We'll place the text on the right side and center the text vertically with the logo // my moving it down 15 pixels. a2.Position = new Point(130,15);
// Make sure the annotation doesn't create a rectangle for the text and wrap it. a2.DynamicSize = false;
// In order for the annotation not to draw the background, outline and so on... We'll use a shortcut to clear the colors. a2.ClearColors();
// Add the second annotation. Chart.Annotations.Add(a2);
// Add some random data. Chart.SeriesCollection.Add(mySC);
}
SeriesCollection getRandomData() { SeriesCollection SC = new SeriesCollection(); Random myR = new Random(); for(int a = 1; a < 5; a++) { Series s = new Series(); s.Name = "Series " + a; for(int b = 1; b < 5; b++) { Element e = new Element(); e.Name = "Element " + b; //e.YValue = -25 + myR.Next(50); e.YValue = myR.Next(50); s.Elements.Add(e); } SC.Add(s); }
' Demonstrates how to use annotations to create a custom company header on your charts.
' First we get our data, if you would like to get the data from a database you need to use ' the data engine. See sample: features/dataEngine.aspx. Or the dataEngine tutorial in the help file. Dim mySC As SeriesCollection = getRandomData()
' Our company logo is 40 pixels high so we'll start by making some space at the top of the chart. Chart.MarginTop = 40
' Next we place the logo on the chart using an annotation. Dim a As Annotation = New Annotation(New Background("../../images/dncLogo.jpg")) a.Shadow.Color = Color.Empty a.Position = New Point(27,0) Chart.Annotations.Add(a)
' Now we'll make an annotation for the text part. Dim a2 As Annotation = New Annotation("Image and Text Header. Copyright .netCHARTING. Click for details.")
' We'll add a link so then this text is clicked it takes us to the site. a2.URL = "http://www.dotnetcharting.com"
' The logo size is 103x40. We'll place the text on the right side and center the text vertically with the logo ' my moving it down 15 pixels. a2.Position = New Point(130,15)
' Make sure the annotation doesn't create a rectangle for the text and wrap it. a2.DynamicSize = False
' In order for the annotation not to draw the background, outline and so on... We'll use a shortcut to clear the colors. a2.ClearColors()
' Add the second annotation. Chart.Annotations.Add(a2)
' Add some random data. Chart.SeriesCollection.Add(mySC)
End Sub
Function getRandomData() As SeriesCollection Dim SC As SeriesCollection = New SeriesCollection() Dim myR As Random = New Random() For a As Integer = 1 To 4 Dim s As Series = New Series() s.Name = "Series " & a For b As Integer = 1 To 4 Dim e As Element = New Element() e.Name = "Element " & b 'e.YValue = -25 + myR.Next(50); e.YValue = myR.Next(50) s.Elements.Add(e) Next b SC.Add(s) Next a
Return SC End Function </script> </head> <body> <div style="text-align:center"> <dotnet:Chart id="Chart" runat="server" Width="568px" Height="344px"> </dotnet:Chart> </div> </body> </html>